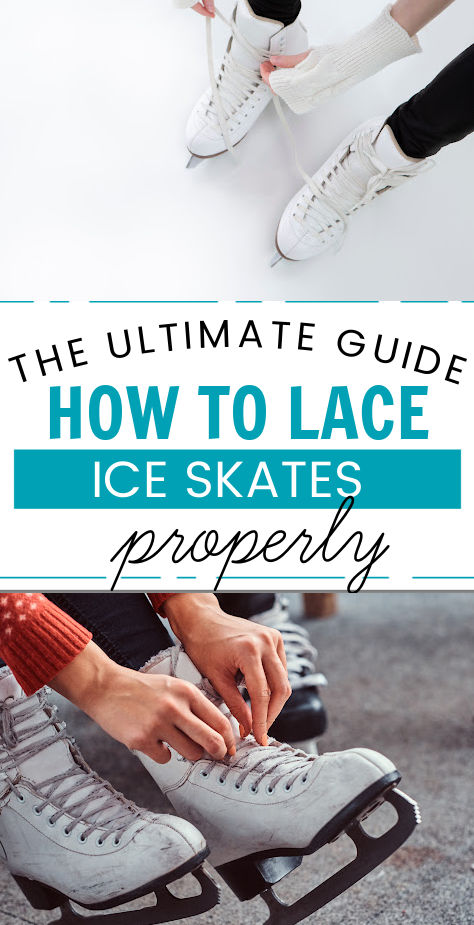
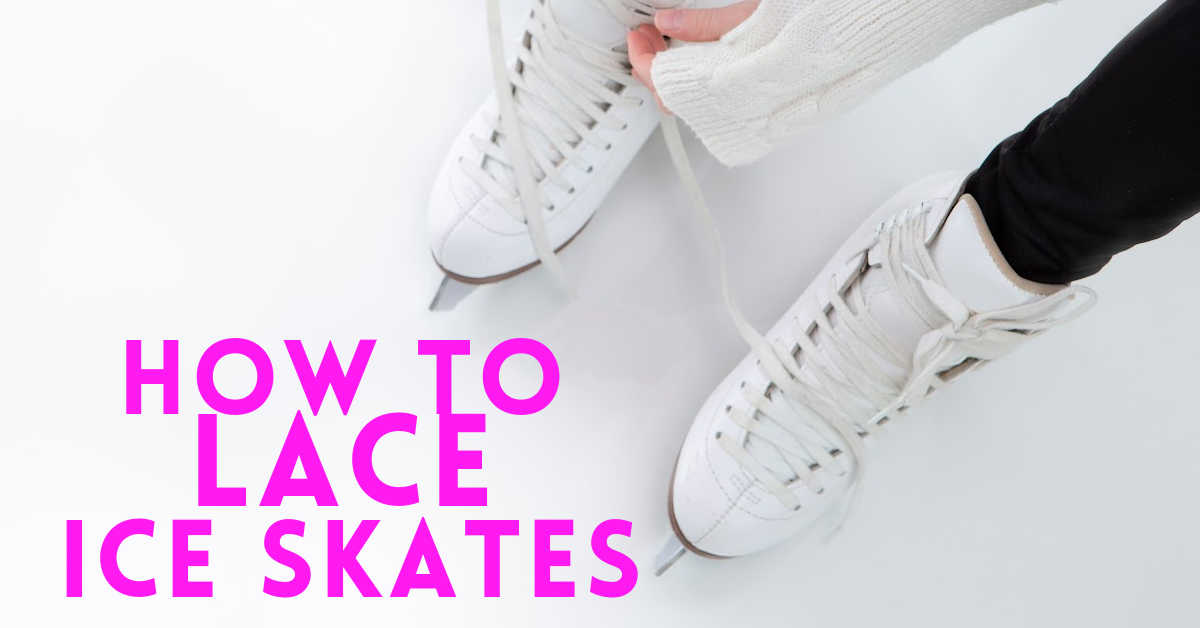
How To Lace Ice Skates Properly
Want to learn how to lace ice skates properly? Whether you are just learning how to skate or are a seasoned pro, proper lacing of your ice skates is essential for a comfortable and enjoyable experience. In this article, we will show you how to lace ice skates properly. We will also provide some tips on how to break in new skates and how to care for your ice skates.
Lacing up ice skates may seem like a daunting task, but with this step by step guide, you’ll be lacing like a pro in no time. Skates that are laced properly will provide more support and stability while you’re skating, and will be more comfortable overall.
Follow these simple steps and you’ll have your skates laced perfectly in no time.
This post may contain affiliate links. Please read my Affiliate Disclosure for more information
MORE ICE SKATING TIPS
The Different Types Of Ice Skates Explained
What To Wear For Ice Skating Lessons
Why lacing ice skates properly is important
Lacing ice skates is important for a few reasons. First, it helps to keep your feet secure in the skates. Second, it helps to distribute your weight evenly across the skate so that you can glide smoothly.
Third, it helps to protect your ankles from rolling over while you are skating.
If you don’t lace your ice skates properly, you run the risk of ankle injuries while you are skating. This can lead to serious injury if you fall on the ice.
Additionally, if you don’t distribute your weight evenly across the skate, you will likely experience more resistance when skating and won’t be able to move as quickly or smoothly.
Finally, if your ankles aren’t supported properly by the lacing, they are more susceptible to rolling over which can cause a painful sprain or break.
The right way to lace up your ice skates
Lacing up your ice skates might seem like a simple task, but there is a right way to do it in order to get the most support and comfort from your skates.
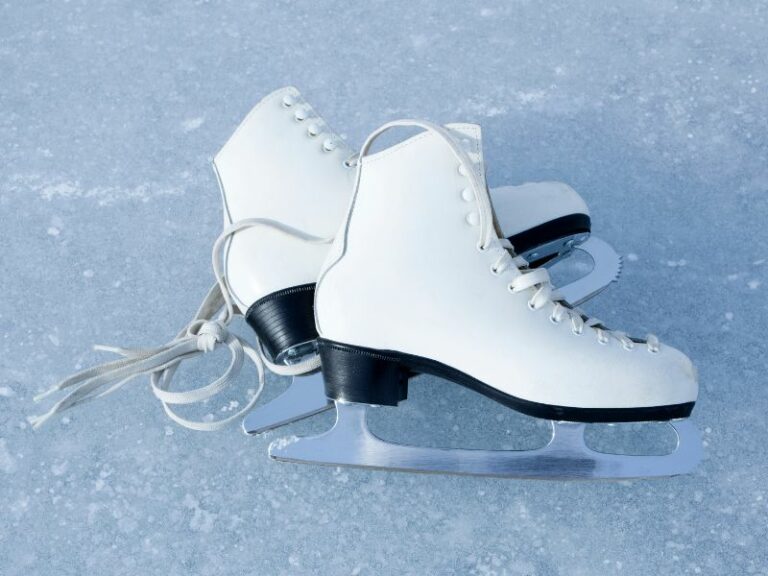
Step One: Get The Right Skates
The most important thing is to make sure your skate size is correct. It doesn’t matter how well you lace your skates if you are wearing the wrong size.
Proper fitting skates are a must if you want to be as stable as possible on the ice.
Make sure to get your skates fitted professionally at a skate shop if you are in figure skates and remember that ice hockey skates are normally a size or two below your regular street size.
Step Two: Get the Right Laces
The type of lace you use on your skates really comes down to personal preference. In general, hockey players like waxed laces.
For this reason many hockey skate laces have a thin layer of wax on them to help with skate lacing.
Figure skaters normally used unwaxed laces on their skates.
Pro Tip: Keep an extra pair of laces in your skate bag in case of mishaps.
Step Three: Put Your Skates On Correctly
First of all, make sure you are sitting down to tie your skates.
Loosen the laces as much as possible so that your foot can slide in easily.
Make sure the heel of your foot is right at the back of the boot.
Heel slippage will ruin the skates and can also make it hard to skate properly.
Pull the tongue of the skate to the top of the boot and make sure your foot is all the way down at the bottom of your skate.
You might need to stomp your foot on the ground a couple of times to get your foot all the way down.
Step Four: Lacing Your Skates
Now it is time to lace up your skates! The good news is that this is much easier than it seems.
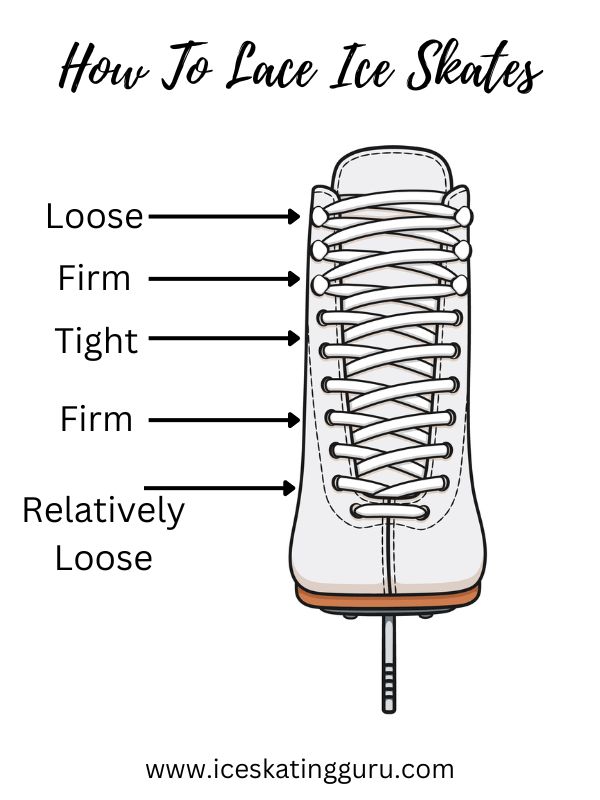
Remember that there are a few parts to the skate laces. At the bottom, there are 8-10 eyelets along the toe and front of the skate. Near the top of the skate are hooks.
The key to lacing your skates properly is that you want to make sure there is sufficient support around your feet while still providing maximum flexibility for jumps and spins.
While there are different lacing methods, I will take you through the one that is used by all the skate shops and even Olympic skaters near me:
1.Start down by the toe of the skate and make sure the lace in the first few eyelets is very tight. The, around the 3rd eyelet up tighten the lace with both hands.
2. Continue to the next eyelet without ever dropping the lace. If you drop it to move onto the next eyelet, the lace will shift and loosen. Don’t hold onto the ends of the laces but keep pulling tightly from the part of the lace closest to the eyelet.
3. About 2 eyelets from the hooks, you can go slightly looser but not “loose”. Just a little less tight than you did at the bottom of the skate.
4. Make your way up the skate boot until you get to the most important part – the hooks. Right before you start on the first hook, I like to make a knot in the lace – kind of where the foot meets the top of your foot instep. Making a knot here at the joining area of the tongue ensures a tight fit.
You also want to take a moment here to make sure the tongue of the skate is tucked in all the way up.
5. Now, it is time to move to the hooks. There is no correct way of lacing the hooks and there is much debate about over or under the hooks.
I like to go over the hooks for the bottom too hooks as that stops the lace from slipping back.
You don’t need to go super tight as you get to the top of you.r skates – firm but not super tight is key.
6. At the top of your skates is the last hook. I typically go under for this one for some reason but really it is up to you. Make sure the top of the tongue is still tucked into the boot.
7. Then make a knot and a double bow. Do not wrap the laces around your skates. If you have proper laces for your skates, they shouldn’t be so long that you need to do this anyway.
Other Skate Lacing Techniques
The Lace Locking Method
If you suffer from blisters in your heels or the front of your foot then the lock lacing method is a good option for you. You essentially lace your skates exactly as I have outlined above but you do something slightly different at the top before you get to the hooks. This stops the laces from slipping.
See more in this video: https://www.blister-prevention.com/heel-lock-lacing-technique/
FAQS For The Correct Way To Lace Ice Skates
What Direction should you thread the laces?
For correct lacing, you should thread your laces from the outside to the inside of the boot as you move up the skate. This keeps your foot in the optimal position and stops the lace from slipping too much.
This way of lacing is sometimes called Edea lacing after the skate manufacturer.
How often do I need new skate laces?
A significant portion of the boot support is from the tongue/laces, so laces play a big role. Replace them at least every 2-3 months since they stretch out and lose their ability to provide support. Keep an eye on them to see if they are getting worn out.
What Happens if I tie My Skates Wrong?
Tying your skates too tight or too loose can cause all different problems.
Skates too loose?
If your skates are too loose, you won’t have any ankle support and your skates will turn onward. This means all kinds of skating is more difficult and you are liable to rolling an ankle while on the ice.
Skates too tight?
If your skates are too tight, you won’t be able to bend your knees properly. This can cause hip issues and other serious injuries.
hen the knees couldn’t bend enough, it prevents the skater from being able to absorb the shock properly at landing.
It also creates a continuous stiffness at the rear of the thighs, which put the skater at risk of injuries, would it be small tears (gluteous max & hamstrings) caused by the continuous overstretching & overburdening of this area… or bigger avulsions in case of a bad landing.